
Email Deliverability · Email Authentication · Inbox Placement · Spam Testing · Email Marketing
How to Improve Email Deliverability: 10 Steps Anyone Can Do
· InboxPlacement.io Team
Updated
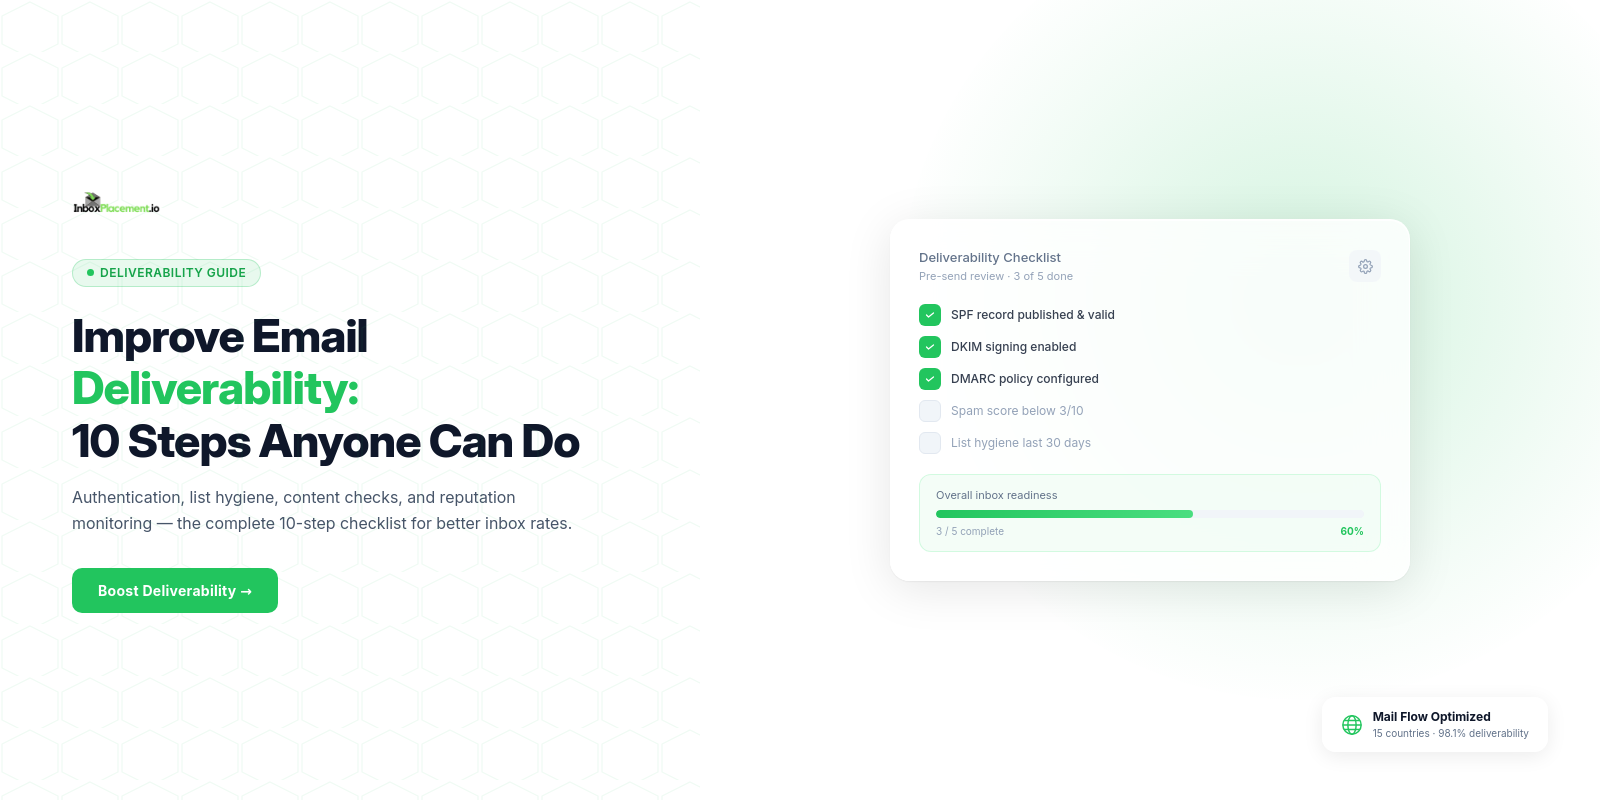
Email deliverability is the ability of an email to reach the recipient's inbox rather than their spam folder, junk folder, or being blocked entirely. It is different from delivery — an email can be technically delivered to the receiving server and still never appear in the inbox.
According to a 2025 analysis by Unspam.email, only 60% of sent emails actually reached a visible mailbox location. The gap between sent and seen is deliverability.
This guide gives you 10 concrete steps to close that gap, in order of impact.
Deliverability vs. Delivery: What's the Difference?
- Delivery means the receiving server accepted the message and did not bounce it
- Deliverability means the message appeared where the recipient can read it — the inbox, not spam
You can have 99% delivery and 40% inbox placement. Your platform reports "delivered." Your subscribers never saw it.
The only way to measure real deliverability is to run an inbox placement test.
The 10 Steps to Improve Email Deliverability
| # | Step | Why it matters | Time to complete |
|---|---|---|---|
| 1 | Publish an SPF record | Identifies which servers are allowed to send on behalf of your domain | 15 minutes |
| 2 | Enable DKIM signing | Proves the message content was not tampered with in transit | 30 minutes per sender |
| 3 | Set a DMARC policy | Protects your domain from spoofing and provides authentication reports | 15 minutes |
| 4 | Send only to consented contacts | Consent correlates directly with low complaint rates | Ongoing |
| 5 | Remove hard bounces immediately | A high bounce rate signals a poor-quality list to receivers | After every send |
| 6 | Make unsubscribing easy | Google and Yahoo require one-click unsubscribe for bulk senders since 2024 | One-time setup |
| 7 | Send at a consistent volume | Sudden volume spikes look like spam behaviour to filters | Ongoing planning |
| 8 | Improve engagement signals | High open rates and clicks tell providers your mail is wanted | Ongoing |
| 9 | Run a spam test before sending | Finds content triggers and authentication failures before they cost you | 5 minutes per campaign |
| 10 | Test inbox placement across providers | Shows exactly where your emails land at Gmail, Outlook, Yahoo, and others | 10 minutes |
Step 1: Publish an SPF Record
SPF (Sender Policy Framework) is a DNS record that lists every server authorised to send email from your domain. When a receiver gets a message from your domain, it checks whether the sending server is on that list.
A basic SPF record looks like this:
v=spf1 include:_spf.google.com include:sendgrid.net ~all
- Add every service that sends on your behalf (ESP, CRM, helpdesk)
- End with
~all(softfail) while you are still discovering all your senders, then move to-all(hardfail) once you are confident the list is complete - Keep SPF under 10 DNS lookups or it will fail
Step 2: Enable DKIM Signing
DKIM (DomainKeys Identified Mail) adds a cryptographic signature to every outgoing message. Receivers use the public key published in your DNS to verify the signature has not been altered in transit.
Most ESPs (Mailchimp, SendGrid, HubSpot, Klaviyo) give you a DKIM CNAME record to publish. Once published, DKIM signing is automatic.
Check: Log into your ESP → Sending domains → Authenticate domain. If DKIM shows "not verified," follow their setup guide. It takes under 30 minutes per sender.
Step 3: Set a DMARC Policy
DMARC ties SPF and DKIM together and tells receivers what to do when both fail — monitor only (p=none), send to spam (p=quarantine), or block entirely (p=reject).
Starting with p=none and a reporting address gives you aggregate data showing every source sending on your behalf:
v=DMARC1; p=none; rua=mailto:dmarc@yourdomain.com;
Once your reports show 95%+ pass rates, move to p=quarantine and then p=reject gradually. Never jump directly to p=reject without reviewing your reports first — you risk blocking your own email.
→ Read the full DMARC enforcement guide: How to Fix DMARC Policy Not Enabled
Step 4: Send Only to Consented Contacts
Sending to people who did not ask for your emails is the fastest path to the spam folder. Complaint rates above 0.10% at Gmail will suppress your delivery, and rates above 0.30% can get your domain blocked.
- Use confirmed (double) opt-in for new contacts
- Never purchase or rent email lists
- Remove anyone who has not engaged in the past 6–12 months
- Suppress contacts who marked a previous email as spam immediately
Step 5: Remove Hard Bounces Immediately
A hard bounce means the address does not exist. Continuing to send to hard bounces signals to providers that you do not maintain your list — one of the clearest markers of spam-like behaviour.
- Suppress hard bounces automatically through your ESP
- Audit your list for common typos (gmial.com, yahooo.com, hotmal.com)
- Run your list through an email verification tool before each large campaign if it has been dormant
Step 6: Make Unsubscribing Easy
Since February 2024, Google requires all bulk senders (5,000+ emails per day to Gmail) to support one-click unsubscribe via List-Unsubscribe headers. Yahoo followed with the same requirement.
Blocking or hiding the unsubscribe option does not keep subscribers — it converts them into spam complaints, which are far more damaging than an unsubscribe.
- Enable List-Unsubscribe headers in your ESP (most do this automatically)
- Process unsubscribe requests within 2 days
- Make the unsubscribe link visible in the email footer
Step 7: Send at a Consistent Volume
Sending 200 emails a day for three months and then sending 50,000 in one blast looks like a compromised or new account to spam filters. Volume spikes trigger throttling, deferrals, and spam placement.
- Ramp up volume gradually — double your sending volume each week when scaling
- Send at predictable times and frequencies
- If a domain has been inactive, warm it up before a large send
→ Email Warm-Up Guide: Build Sender Reputation on a New Domain
Step 8: Improve Engagement Signals
Gmail and other providers track how recipients interact with your emails. High open rates, clicks, and replies are strong positive signals. Emails that go unread, or are frequently deleted without opening, are treated as unwanted.
Practical ways to improve engagement:
- Segment your list and send relevant content to each segment
- Write subject lines that match what the email actually contains
- Reduce sending frequency to active subscribers rather than blasting everyone
- Re-engagement campaigns for inactive contacts — and remove those who still do not engage
Step 9: Run a Spam Test Before Sending
A spam test checks your authentication, content, and spam score before the email reaches a real inbox. It takes five minutes and can catch issues that would otherwise affect an entire campaign.
What a spam test covers:
- SPF, DKIM, and DMARC authentication pass/fail
- Spam score based on content (trigger words, link ratios, HTML structure)
- Blacklist status for your sending domain and IP
- HTML rendering issues that affect deliverability
→ Run a Free Email Spam Test at InboxPlacement.io
Step 10: Test Inbox Placement Across Providers
Spam testing tells you whether your email looks suspicious. Inbox placement testing tells you where it actually lands — inbox, spam, or promotions tab — at Gmail, Outlook, Yahoo, AOL, and other providers.
These are different things. An email can pass every spam check and still land in the Gmail Promotions tab or the Outlook Junk folder. The only way to know is to test.
Inbox placement testing works by sending your email to a set of real test addresses ("seed addresses") across providers. You see exactly which providers placed the email in the inbox versus spam.
Run an inbox placement test:
- Before every major campaign
- When you switch ESPs or sending domains
- When you see unexplained drops in open rates
- After making changes to authentication records
→ Test Inbox Placement for Free at InboxPlacement.io
What Google and Yahoo Now Require for Bulk Senders
Since February 2024, Google and Yahoo have required all senders of 5,000 or more messages per day to meet these minimum standards:
- ✅ SPF authentication passing
- ✅ DKIM authentication passing
- ✅ DMARC record published (at any policy level)
- ✅ One-click List-Unsubscribe header enabled
- ✅ Spam complaint rate below 0.10% at Gmail
Starting November 2025, Gmail began applying temporary and permanent rejections for non-compliant traffic. These requirements are now strictly enforced, not advisory.
Microsoft followed with similar requirements for high-volume Outlook.com senders.
How to Diagnose a Drop in Inbox Placement
If your open rates have dropped without an obvious content or list change, work through this checklist:
- Run an inbox placement test to confirm placement has actually dropped
- Check your spam complaint rate in Google Postmaster Tools
- Verify SPF, DKIM, and DMARC are still passing
- Check your sending IP and domain against blacklists
- Review recent list additions — a batch of low-quality addresses can drag placement down
- Review recent content changes for new spam trigger words or broken links
Frequently Asked Questions
What is the fastest way to improve email deliverability?
Fix authentication first — SPF, DKIM, and DMARC. These are the foundation of sender reputation and the minimum requirement for major providers. Authentication issues alone can move an email from inbox to spam. Once authentication is clean, run an inbox placement test to confirm improvement.
Does SPF improve inbox placement?
SPF is a requirement, not a direct inbox placement booster. It establishes you as an authorised sender, which prevents hard rejections. But SPF alone does not determine where in the inbox your email lands — engagement, reputation, and content also matter.
Why do authenticated emails still go to spam?
Authentication tells providers who you are. It does not tell them your email is wanted. Spam placement after authentication is usually caused by a high complaint rate, low engagement, sending to stale lists, content that matches spam patterns, or a poor reputation on the sending IP address.
How often should I clean my email list?
Remove hard bounces after every send. For soft bounces, suppress addresses that have bounced three or more times consecutively. Perform a full list review every six months — remove anyone who has not opened an email in 12 months after a re-engagement attempt.
Should I use a dedicated sending domain?
Yes, if you send high volumes. A dedicated domain keeps your transactional and marketing mail separate. A spam complaint on a marketing campaign does not then affect receipt confirmation emails. Warm the domain properly before sending at scale.
How can I test inbox placement?
InboxPlacement.io sends your email to seed addresses at Gmail, Outlook, Yahoo, AOL, and other providers and shows you exactly where it landed — inbox, spam, or promotions. The results appear within minutes.
Start Testing Your Deliverability
The steps above work best when you can measure the result. InboxPlacement.io gives you spam testing, inbox placement testing, and DMARC monitoring — everything you need to find the problem, fix it, and confirm it is resolved.
Run a Free Deliverability Test →
Related: Email Warm-Up Guide: Build Sender Reputation on a New Domain · Gmail Spam Test: How to Check If Your Emails Reach Gmail Inboxes · Email Spam Test: 5 Steps to Check Your Email Before Every Send · Inbox Placement Rate: What's a Good Score and How to Improve Yours