
Email Testing · Spam Test · Email Deliverability · Email Marketing
Email Spam Test: 5 Steps to Check Your Email Before Every Send
· InboxPlacement.io Team
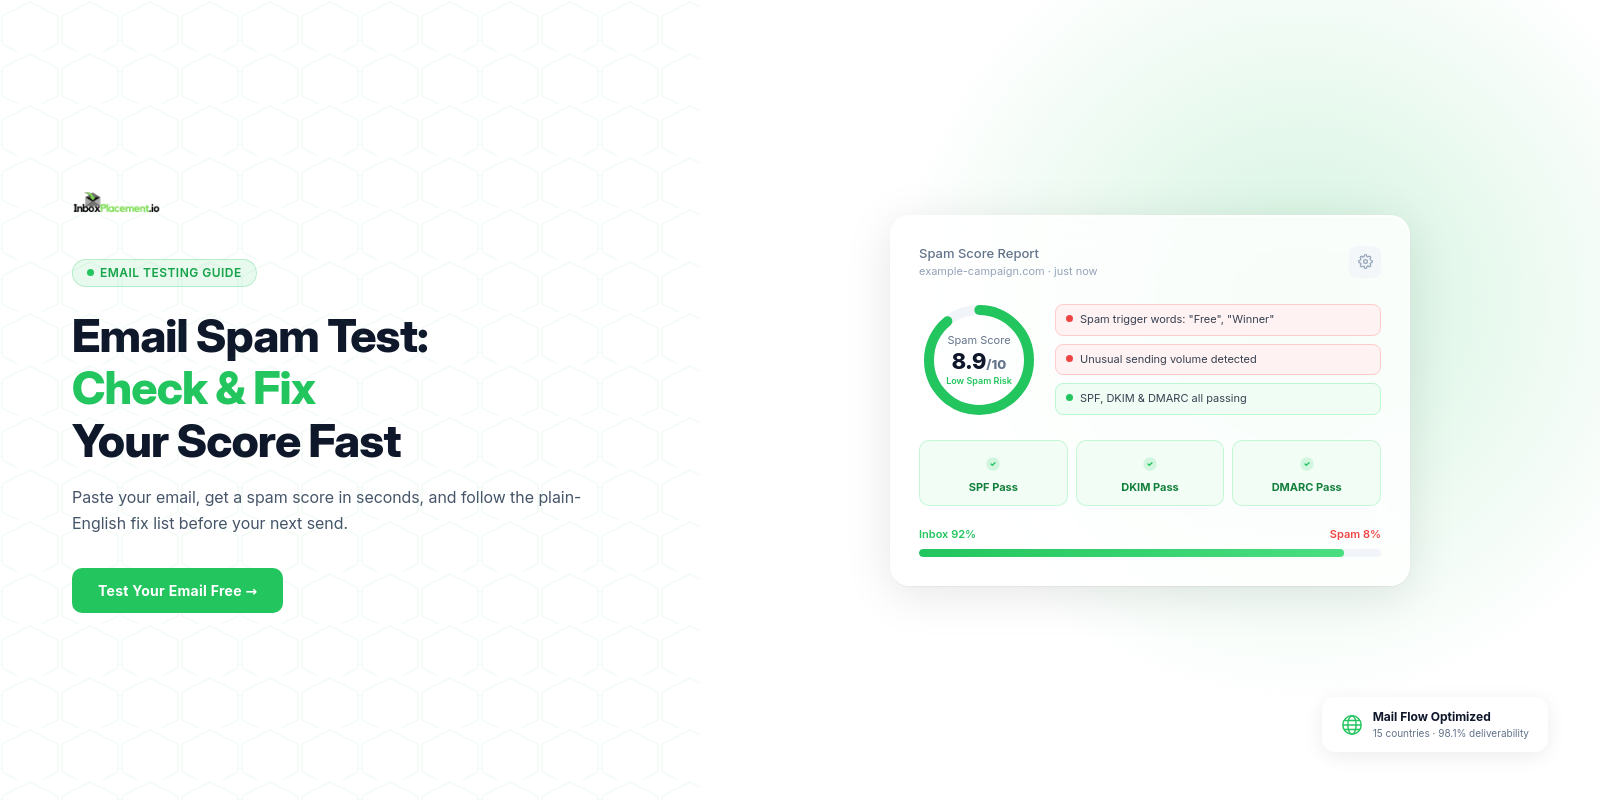
An email spam test is the process of sending your email through automated filters before your actual send to detect and fix deliverability problems. Run one before every campaign and you eliminate the most common cause of inbox failure: sending a message that spam filters were always going to reject.
This guide walks you through the exact 5-step workflow used by high-volume senders to maintain 95%+ inbox placement rates.
Why Spam Testing Before Sending Is Non-Negotiable
Email marketing delivers an average $36 return for every $1 spent — but only when emails reach the inbox. Consider what one skipped spam test costs:
- A campaign with an 82% inbox rate reaches 41,000 of 50,000 subscribers
- The same campaign with 61% inbox rate (after sending a high-scoring email) reaches only 30,500
- That's 10,500 subscribers who never see your message — because of one unfixed issue
Spam filters have tightened significantly since 2024. Gmail now enforces a 0.1% spam complaint threshold for bulk senders. Outlook applies the strictest content filtering of any major provider. Running a spam test is no longer optional — it's the minimum bar for professional email sending.
What a Spam Test Actually Checks
A complete spam test evaluates four areas:
| Test Type | What It Checks | Pass/Fail Threshold | Tool to Use |
|---|---|---|---|
| Authentication | SPF, DKIM, DMARC records | All three must pass | InboxPlacement.io Spam Test |
| Spam Score | Content triggers, HTML quality, link safety | Score 7+/10 (or equivalent) | InboxPlacement.io Spam Test |
| Blacklist Status | IP/domain against 100+ blacklists | 0 active listings | InboxPlacement.io Spam Test |
| Inbox Placement | Where email lands across Gmail, Outlook, Yahoo | 90%+ inbox rate | InboxPlacement.io Inbox Test |
The 5-Step Email Spam Test Workflow
Step 1: Configure Your Test Sender Correctly
The most common spam test mistake is sending from the wrong origin. Your test email must come from the same sending infrastructure as your actual campaign — same IP address, same sending domain, same ESP account.
Do not:
- Send the test from your personal Gmail or Outlook account
- Use a different subdomain than your production sends
- Test from a local SMTP server if you send via an ESP
Do:
- Log into your email service provider (SendGrid, Mailchimp, HubSpot, etc.)
- Use the same template, subject line, and from address as your real campaign
- Send your test email from that platform to the test address provided by your spam checker
Why this matters: SPF records authorize specific IP addresses to send on behalf of your domain. If you test from the wrong IP, authentication will pass in your test but fail in production — and you'll have no warning.
Step 2: Check Authentication (SPF, DKIM, DMARC)
Authentication is the highest-impact single factor in spam filtering. Email providers use it to verify your identity before they even look at your content.
SPF (Sender Policy Framework) — Your DNS record lists which IP addresses are authorized to send email from your domain. If your sending IP isn't listed, SPF fails.
DKIM (DomainKeys Identified Mail) — A cryptographic signature attached to every email proving it hasn't been modified in transit. Enable this in your ESP settings.
DMARC (Domain-based Message Authentication) — Ties SPF and DKIM together with a policy. Requires alignment between the From header domain and the authenticated domain.
✓ All three must show PASS on your spam test report before proceeding. A single failure here can override positive signals from content and reputation.
Quick fixes:
- SPF fail → Add your ESP's SPF include to your DNS TXT record
- DKIM fail → Enable DKIM signing in your ESP settings, publish the CNAME records they provide
- DMARC fail → Publish a DMARC record at
_dmarc.yourdomain.com
Authentication DNS changes propagate within 24–48 hours. Plan your test schedule accordingly.
Step 3: Run Your Spam Score Test
With authentication confirmed, analyze your email content. Spam score tests evaluate:
- Subject line triggers — ALL CAPS, excessive punctuation, urgency phrases ("Act now!", "Limited time!!!")
- Body content — High-risk keywords (free money, guaranteed, risk-free, winner), excessive exclamation marks, deceptive phrasing
- HTML quality — Broken tags, hidden text, image-only sections, excessive inline CSS
- Text-to-image ratio — 60% text / 40% images is the target; image-only emails are flagged immediately
- Link quality — Shortened URLs (bit.ly), mismatched anchor text, links to blacklisted domains
Interpreting your spam score:
| Score | Risk Level | What to Do |
|---|---|---|
| 8–10/10 | Low risk | Safe to send |
| 6–7/10 | Medium risk | Fix flagged issues before sending |
| 4–5/10 | High risk | Major revision required |
| 0–3/10 | Critical | Do not send — significant problems detected |
Fix every flagged issue before moving to Step 4. Content changes show immediate results when you retest.
Step 4: Review Blacklist Status
Your sending IP and domain are checked against 100+ real-time blacklists including Spamhaus, SpamCop, SURBL, and URIBL. A single active blacklist listing can drop your inbox placement by 30–50 percentage points overnight.
If you're listed:
- Identify the blacklist and visit their lookup page
- Find the delisting request form (most require submitting a removal request)
- Fix the underlying issue that caused the listing (spam complaints, spam trap hits, sudden volume spike)
- Submit removal request and allow 24–72 hours for propagation
- Re-run your spam test to confirm the listing is gone
If you're clean: Confirm the result and proceed to Step 5.
Step 5: Run an Inbox Placement Test
This is distinct from a spam score test. An inbox placement test sends your email to real seed mailboxes across Gmail, Outlook, Yahoo, and AOL — then reports exactly which folder each one landed in.
A spam score of 9/10 doesn't guarantee inbox placement. Sender reputation, engagement history, and provider-specific filters can still route your email to the Promotions tab or Spam folder even with perfect content.
Run the inbox placement test and look for:
- Overall inbox placement rate (target: 90%+)
- Provider-by-provider breakdown (identify which ISPs are filtering)
- Promotions tab placement at Gmail (not spam, but reduces visibility)
- Any complete blocks (email not delivered)
If Gmail is filtering to Promotions and you're sending marketing email, that's expected behavior — focus on inbox vs. spam. If Outlook is consistently sending to junk, investigate your Outlook-specific sender reputation via Microsoft SNDS.
Common Spam Test Mistakes
❌ Testing with dummy content — Your spam test must use the real subject line, body, and links. A "Hello, this is a test" email will pass everything and tell you nothing.
❌ Testing once and assuming it applies forever — Every campaign is different. New subject lines, updated templates, and changed links create new risks.
❌ Ignoring warnings and sending anyway — A spam score of 5/10 with a note about authentication failure is not a suggestion. It's a preview of what production filters will do.
❌ Only checking one provider — A score from one spam checker may miss issues that specific ISP filters catch. Test across multiple provider seed lists.
Frequently Asked Questions
What is a spam test for email?
An email spam test is an automated analysis that evaluates your email against spam filter criteria — including authentication records, content patterns, link quality, and blacklist status — before you send it to your actual list.
How often should I spam test my emails?
Test every new campaign type the first time. After that, test every send if your volume is high or your templates change. At minimum, test monthly for regular senders and whenever you notice a drop in open rates.
Is spam testing free?
Basic spam tests are available free with limited daily tests. InboxPlacement.io's full spam test — covering authentication, content analysis, blacklist checks, and inbox placement — starts at $9.99/month.
How long does an email spam test take?
Most spam score results are available within 60–120 seconds of sending your test email. Full inbox placement tests across 30+ seed mailboxes typically take 5–15 minutes.
What spam score means my email will pass?
A score of 7/10 or higher (on a 10-point scale) is generally considered safe to send. Aim for 8–10/10 for best deliverability. Anything below 5/10 requires fixes before sending.
Ready to run your spam test? Check your email at InboxPlacement.io →
Related: Email Spam Score Checker: How to Test & Improve Your Spam Score · Inbox Placement Testing 101 · Spam Score Analyzer: Fix Issues in Under 30 Minutes