
DMARC · Email Security · Email Spoofing · Domain Protection
DMARC Monitoring: Protect Your Domain from Email Spoofing
· InboxPlacement.io Team
Updated
Introduction
Cybercriminals are sending fake emails from your domain right now—and you probably don't know it. Without DMARC monitoring, you're vulnerable to phishing attacks that damage your brand and tank your email deliverability.
In this guide, you'll learn how DMARC monitoring protects your domain from email spoofing, how to set up DMARC enforcement properly, and how to analyze DMARC reports to stop unauthorized senders.
What is DMARC Monitoring?
DMARC monitoring is the continuous process of collecting and analyzing DMARC reports to:
✓ Identify who's sending emails from your domain
✓ Detect unauthorized senders and spoofing attempts
✓ Ensure legitimate emails pass authentication
✓ Optimize your DMARC policy safely
Email providers like Gmail and Yahoo send daily XML reports showing authentication results. A DMARC report analyzer parses these complex files into actionable insights.
Why DMARC Monitoring is Essential in 2025
Gmail/Yahoo Requirements
As of 2024, bulk senders (5,000+ emails/day) must have DMARC configured. Without it, your emails get blocked or sent to spam.
The mandate includes:
✓ SPF authentication configured
✓ DKIM signatures enabled
✓ DMARC policy published
✓ One-click unsubscribe for marketing emails
Real-World Impact: E-Commerce Case Study
An e-commerce company discovered through DMARC monitoring that scammers sent 50,000+ fake "order confirmation" emails from their domain.
Results after DMARC enforcement:
✓ Blocked all spoofed emails
✓ Reduced fraud complaints by 94%
✓ Improved inbox rate from 76% to 91%
✓ Protected ~$2M in potential fraud losses
Bottom line: DMARC monitoring detected the threat before it destroyed their sender reputation and customer trust.
Understanding DMARC Enforcement Levels
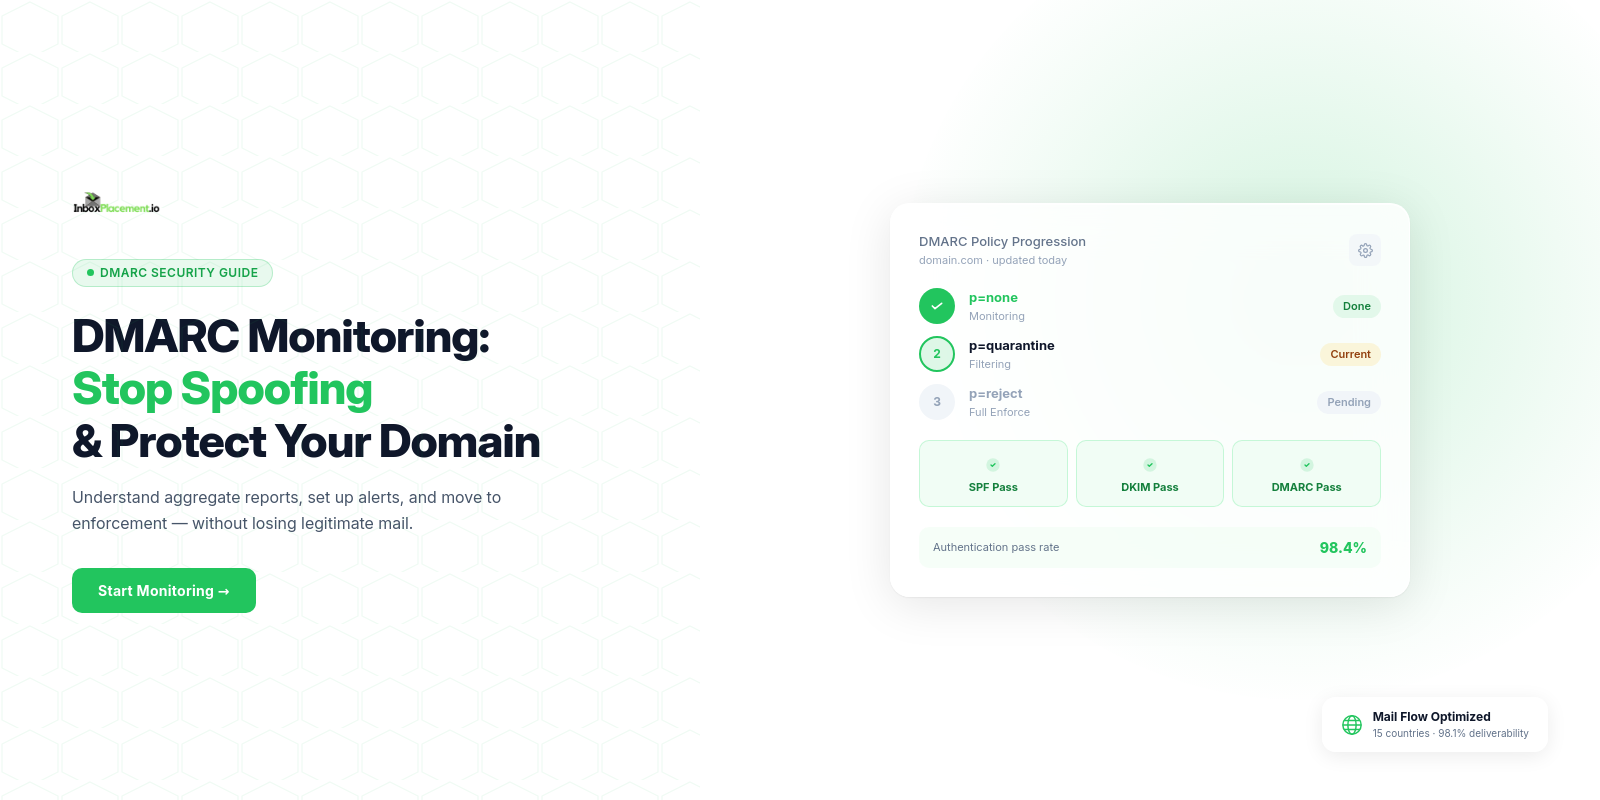
p=none (Monitoring Mode)
✓ Collect reports, take no action
✓ Safe for initial setup
✓ Use for 30-90 days to identify legitimate senders
When to use: Starting DMARC implementation, gathering baseline data about all email sources.
p=quarantine (Moderate Protection)
✓ Send failing emails to spam
✓ Recommended for most businesses
✓ Protects recipients while allowing monitoring
When to use: After identifying all legitimate senders, ready to start enforcing policy but want to maintain safety net.
p=reject (Maximum Protection)
✓ Block failing emails completely
✓ Highest security
✓ Only use after achieving 95%+ authentication pass rate
When to use: After running p=quarantine successfully for 30+ days with high pass rates.
Critical warning: Start with p=none, gradually move to p=reject over 90 days. Jumping straight to p=reject can block legitimate emails from third-party services like:
❌ Marketing automation platforms
❌ CRM systems
❌ Helpdesk software
❌ Transactional email services
How to Set Up DMARC Monitoring (3 Steps)
Step 1: Configure SPF and DKIM
DMARC requires these foundational protocols first.
Example SPF record:
v=spf1 include:_spf.google.com include:sendgrid.net ~all
What this does:
✓ Authorizes Google Workspace to send from your domain
✓ Authorizes SendGrid for transactional emails
✓ Soft-fails (~all) unauthorized senders (recommended during setup)
Enable DKIM in your email platform and publish the public key in DNS. Most platforms like Gmail, Outlook, and SendGrid provide automatic DKIM setup.
Step 2: Publish DMARC Record
Add this TXT record at _dmarc.yourdomain.com:
v=DMARC1; p=none; rua=mailto:dmarcfr@inboxplacementio.me; fo=1
Record breakdown:
✓ v=DMARC1 - DMARC version
✓ p=none - Policy (start with monitoring mode)
✓ rua=mailto:... - Where to send aggregate reports
✓ fo=1 - Forensic report options (send on any failure)
Step 3: Monitor Reports Weekly
DMARC reports show:
✓ Source IPs sending from your domain
✓ SPF/DKIM authentication results
✓ Volume of emails per source
✓ Pass/fail rates
Use a DMARC report analyzer to automatically parse XML reports into visual dashboards. Manual parsing is impractical—aggregate reports can contain thousands of lines of XML.
What DMARC Reports Tell You
Aggregate Reports (RUA)
What they contain:
✓ Daily summaries from Gmail, Yahoo, Outlook
✓ Authentication pass/fail rates
✓ Legitimate vs. unauthorized sources
✓ Volume trends
Example insights:
"SendGrid sent 45,000 emails with 99.8% DMARC pass rate"
"Unknown IP in Russia sent 2,300 emails with 0% pass rate (spoofing detected)"
Forensic Reports (RUF)
What they contain:
✓ Real-time failure notifications
✓ Detailed headers from failing messages
✓ Helps troubleshoot authentication issues
When you receive them: Only when emails fail DMARC checks, providing immediate visibility into problems.
Common DMARC Mistakes to Avoid
❌ Moving to p=reject too quickly → Blocks legitimate third-party emails from platforms you forgot about
❌ Not monitoring reports → Miss unauthorized senders and spoofing attempts
❌ Forgetting subdomains → Attackers exploit unprotected subdomains to send spoofed emails
❌ Ignoring alignment → Emails pass SPF/DKIM but fail DMARC due to domain mismatch
✓ Best practice: Use professional DMARC monitoring with automated report parsing, threat detection, and policy recommendations.
DMARC Monitoring Tools: What to Look For
Essential features for enterprise-grade DMARC monitoring:
✓ Automated XML report collection from all email providers
✓ Visual dashboards (not raw XML files)
✓ Threat intelligence and geographic mapping showing attacker locations
✓ Policy wizard (guides p=none → p=reject transition)
✓ Multi-domain support for managing multiple brands
✓ Real-time alerts for suspicious activity
InboxPlacement.io provides enterprise-grade DMARC monitoring for $19/domain/month—far more affordable than competitors charging $50-$200 per domain.
For a product overview, see InboxPlacement.io DMARC Monitoring.
DMARC Policy Best Practices
Week 1-4: p=none
✓ Collect baseline data
✓ Identify all legitimate senders
✓ Review aggregate reports
✓ Document third-party services
Week 5-8: p=none with fixes
✓ Update SPF records for all authorized senders
✓ Enable DKIM on all sources
✓ Verify domain alignment
✓ Achieve 95%+ authentication pass rate
Week 9-12: p=quarantine
✓ Start enforcing policy
✓ Monitor for false positives
✓ Adjust SPF/DKIM as needed
✓ Watch inbox placement metrics
Week 13+: p=reject
✓ Maximum protection
✓ Block all unauthenticated emails
✓ Continue monitoring for new threats
✓ Maintain 95%+ pass rate
Key metric: Don't move to the next phase until you achieve and maintain 95%+ authentication pass rate for at least 14 days.
DMARC Monitoring ROI
Security benefits:
✓ Stop phishing attacks using your domain
✓ Prevent brand impersonation
✓ Protect customers from scams
✓ Meet compliance requirements
Deliverability benefits:
✓ Improve inbox placement rates by 10-20%
✓ Build sender reputation
✓ Meet Gmail/Yahoo requirements
✓ Reduce spam complaints
Cost of NOT monitoring:
❌ Average phishing attack cost: $4.91M per breach
❌ Brand reputation damage: Immeasurable
❌ Gmail/Yahoo blocking legitimate emails: Lost revenue
❌ Customer trust erosion: Long-term impact
Common Questions
Q: How long does DMARC setup take?
A: Initial setup: 30 minutes. Full enforcement: 90 days for safe transition from p=none → p=reject.
Q: Will DMARC break my email if I make a mistake?
A: Not if you start with p=none. This monitoring mode collects reports without affecting delivery. Only move to p=quarantine or p=reject after verifying high pass rates.
Q: What if I don't send 5,000 emails per day?
A: DMARC is still recommended. While Gmail/Yahoo only mandate it for bulk senders, it protects your domain from spoofing regardless of volume.
Q: Can I use free DMARC monitoring tools?
A: Yes, but they often lack automation, threat intelligence, and policy guidance. Manual XML parsing is time-consuming and error-prone.
Q: How many DMARC reports will I receive?
A: Depends on your email volume and number of receivers. Expect 50-200+ XML reports per day from Gmail, Yahoo, Outlook, and others.
Conclusion
DMARC monitoring isn't optional—it's essential for protecting your brand, improving deliverability, and meeting email provider requirements. With proper DMARC enforcement, you'll stop spoofing, increase inbox rates, and build customer trust.
Next steps:
✓ Configure SPF and DKIM
✓ Publish DMARC record with p=none
✓ Set up automated report monitoring
✓ Gradually enforce policy over 90 days
Get DMARC monitoring today. Automated report analysis, threat intelligence, and policy guidance are available for $19/domain/month with InboxPlacement.io.